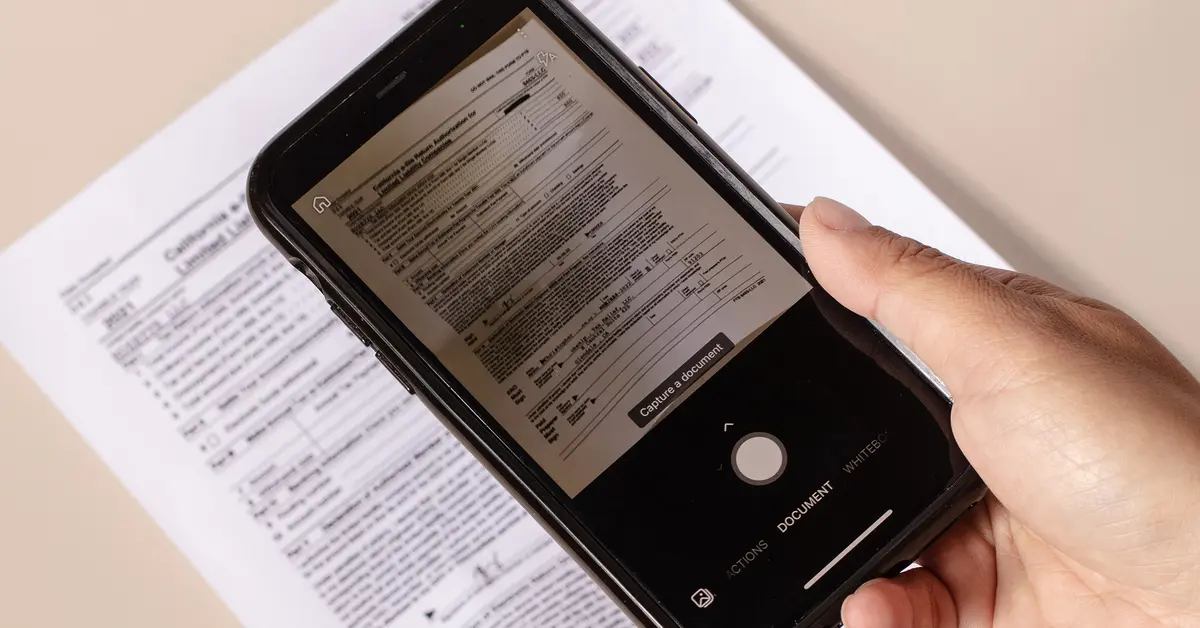
If you are an iPhone user, the Notes app is an excellent tool for jotting down quick notes, making checklists, and scanning documents.
How to scan documents on iPhone using Notes
In many cases, moving a physical document is not logical and safe. It is better to have a scanned version of it that is always with you. In addition to keeping it on your iPhone, you can share this document with others.
Step 1: Open the Notes app on your iPhone
The Note program is one of the default programs on your iPhone that is automatically installed on it. The appearance of this program is similar to a note sheet with a yellow header on top. Your notes will automatically open with the last note you saved.
If this program is not already installed on your iPhone, you can get it from the App Store.
Step 2: Open a new note
Click on the icon to add a new note as shown in the figure below. This icon is located in the bottom corner of the screen. Tapping on it will open a new note. You can also open one of your old notes.
To exit the existing note, click on the icon that looks like a box with an upward arrow in it to save the note. Then tap on notes in the upper left corner.
Step 3: Tap on the camera icon
If you don't already have a note open, it will be a yellow camera icon at the bottom of the image. If you have a note open, this icon in the shape of a camera will be located above the keyboard on your phone screen.
Fourth step: Click on Scan Document
When you tap on the camera icon, tap on the Scan Document option, which is the first item in this section.
Step 5: Hold the phone camera on the desired document
In this section, the back camera of your mobile phone is used for scanning. Hold your mobile phone above the document so that you can see the screen. When you get a clean and tidy view of the document, a yellow box will be displayed around the document.
While the image of the desired document is in the middle of the screen and in its proper place, tap on the screen until the focus is established. The quality of the image and scan will be very high in this mode.
Step 6: Click on the three circles icon
Tap on the three overlapping circles icon. This option is located at the top of the image and by clicking on it, you can choose the right color to save the scan.
Step 7: Choose the color you want
In this step, choose one of the color options. There are four options to choose from in this section:
Color: This option saves the desired document with the same color as itself. But by default, this option partially removes colors and things like shadows from the page.
Grayscale: This option saves the image in grayscale, with colors replaced by grayscale.
Black and white: In this option, the image is saved in black and white without any shades of gray.
Photo: This option saves the image as a photo without any special effects. As if you want to take a photo of your document or certificate with your phone camera.
Step 8: Tap on the camera capture button
The Capture button is used in this section to capture and finalize the image. Tap on it to take a photo. Try to click on this option when the yellow box is around your image.
Step 9: Draw the corners of the photo in the picture square
If your iPhone can't provide you with a correct and orderly image of your frame, you can draw a picture with your finger on the corner so that your document is completely smooth and neatly placed inside the yellow frame. If necessary, adjust the corners to fit inside the frame.
Step 10: Tap on the Keep Scan option
If you are satisfied with the framing and image quality, tap on the Keep Scan option. This option is located in the lower right corner of the image. If you are not satisfied with the image, click on the Retake option or another image will be taken again.
Step 11: Repeat these steps for other pages
If your document is more than one page, go to the next page and help the camera capture the image of the other pages as well. Click on the Capture option to capture the image of the next page. After recording, the image is placed in a small size in the lower corner of the screen.
Step 12: Tap on the screen
By doing this, the image will be displayed in full for you. There are other options through which you can change the color or appearance of the screen.
Step 13: Click on the Save option
When the scanning of your documents is finished and you have scanned all the pages, click on the Save option to save your documents. This type of storage saves the scanned documents in the Note section of your phone.