
If you’ve ever tried to add a Glow in After Effects, you know how tricky it can be to get it just right. The built-in Glow effect might look okay at first glance, but zoom in and you’ll spot the problems — harsh edges, weird falloff, and colors that just don’t pop like you want them to. You tweak the sliders, try different combos, and still end up with a Glow that feels cheap or fake.
So, what’s the real deal? Let’s talk about how to nail that Glow effect — whether you stick with what AE gives you or decide to take things up a notch.
Check out this video to see the best you can get with After Effects’ built-in Glow effect — no extra plugins required. It’s a solid place to start if you want to understand what Glow really is and how you can customize it with AE’s native tools.
That said, even with some clever tweaks, there are natural limits to what the built-in Glow can do. Getting that silky-smooth, vibrant Glow that looks like it belongs in a pro project? That’s where things get tricky, and many artists start looking for better options.
If you don’t have Adobe After Effects and would like to follow these steps, you can find the Software by searching through GFXPlugin.
If you’re serious about professional-looking Glow effects, these issues become bottlenecks. You could brute force your way with multiple layers and adjustment tricks, but that wastes time and energy.
First, don’t beat yourself up trying to force After Effects’ basic Glow to do things it wasn’t really built for. Instead, think about what good Glow really needs:
Smooth, soft edges that feel natural — no pixelated halos or harsh lines.
Colors that blend and shift with the light, not just a flat tint slapped on top.
Fast feedback — you want to see changes in real time without waiting forever for previews.
You can try layering multiple Glows with different settings — like stacking a wide, faint blur under a smaller, brighter one — but that’s fiddly and eats your time. It’s like trying to build a house with just a hammer when you really need a whole toolbox.
Instead, tools built specifically for Glow effects help you skip the frustration. They’re designed to mimic how light actually behaves — fading gently, blending colors smoothly, and responding naturally to your scene. Plus, they often use your GPU to keep things snappy so you can try ideas quickly.
One popular plugin that does this really well is called Deep Glow. It gives you clean, beautiful Glows with controls that just make sense. You can tweak radius, exposure, and thresholds with simple sliders — no guesswork. Plus, it lets you add subtle color shifts and make the Glow react to textures, so your lights don’t look flat or fake.
For further information, follow here.
After installing Deep Glow (Download Deep Glow), open your After Effects project.
Select the layer you want to Glow, then go to Effects > Deep Glow.
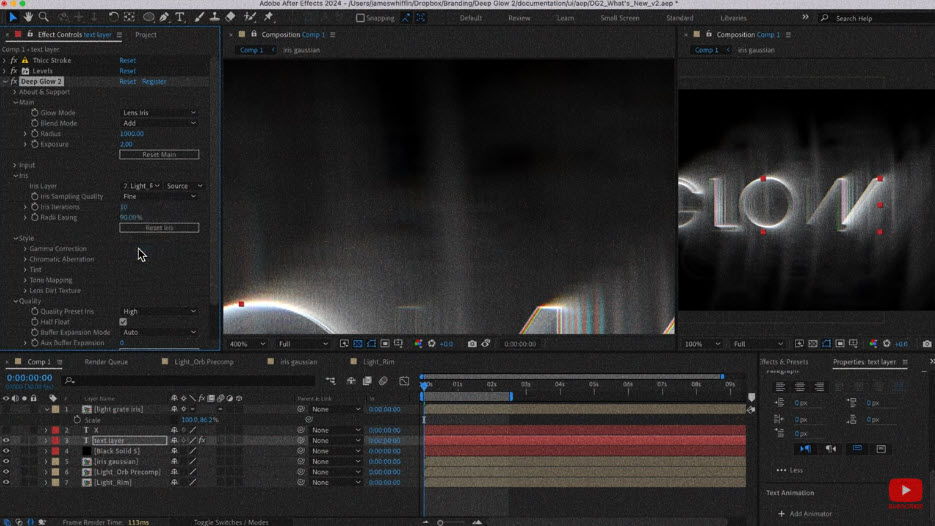
Radius controls how far the Glow spreads out. Start with a moderate value — around 100 to 300 pixels — and adjust based on your shot.
Larger radius creates a softer, more natural falloff; smaller radius is tighter and more intense.
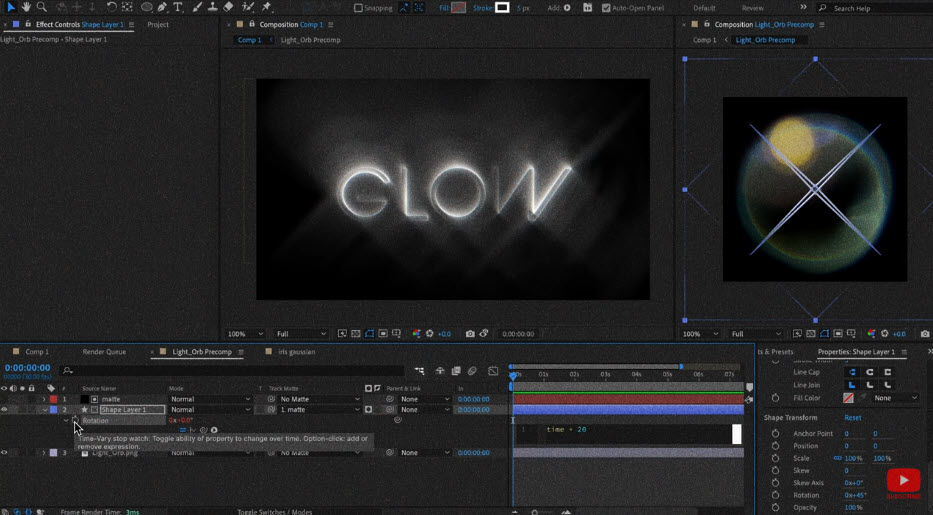
Exposure controls overall Glow brightness. Increase it to make the Glow pop more, but watch out for blown-out highlights.
The threshold determines how bright pixels have to be to Glow. Lower it to include more of the image, raise it to restrict the Glow to only the brightest parts.
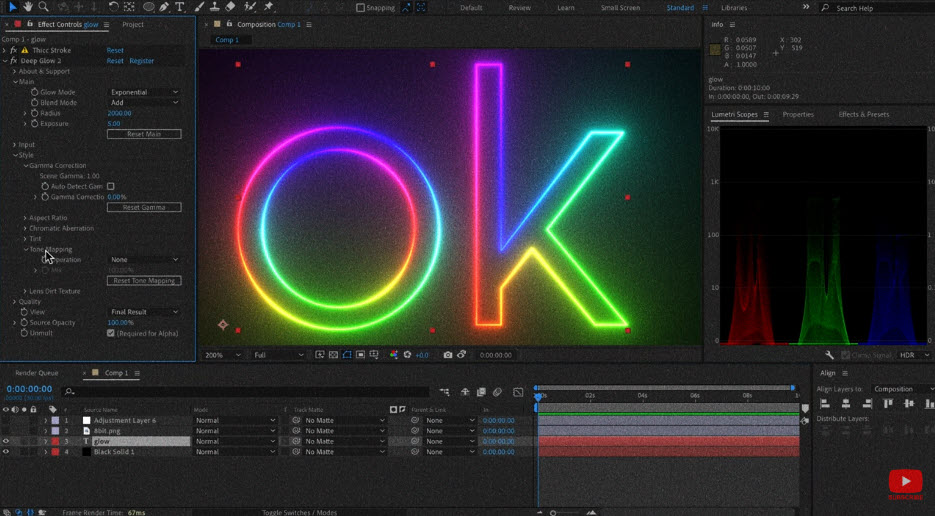
Use the color controls to add subtle tint variations — warm orange Glows, cool blue highlights, or anything in between. This makes your Glow feel alive and responsive to lighting conditions.
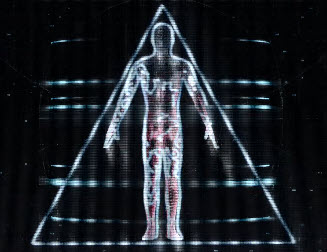
Deep Glow can react to the texture and details in your layer, making the Glow follow contours and shapes for extra realism. Turn on this option if your layer has detailed highlights or patterns.
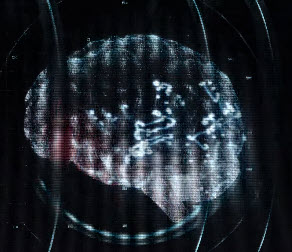
Use RAM preview to check your Glow in motion.
Animate parameters like radius or exposure over time to add subtle flickers or pulsing effects that bring energy to your scene.
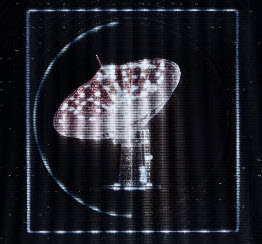
Use masks or alpha mattes to control exactly where the Glow appears — no need to blast the entire layer.
Layer multiple Deep Glow effects with varying radius and color settings for complex looks.
Combine Deep Glow with adjustment layers to tweak contrast or color balance for a polished finish.
At the end of the day, Glow should help your work shine, not make you fight the software. Once you start thinking like this, your Glow game will improve fast, and you’ll actually enjoy the process. Ready to try something better?